✓ Schluter Certified ✓ Mapei Certified ✓ Owner-Operated ✓ Ottawa & Orléans ✓ Free Quotes

Ottawa & Orléans — Owner-Operated

Technical Flooring, Tile &
Bathroom Work in Ottawa

Owner-operated installation focused on proper prep, layout, waterproofing, flatness, coverage, and clean finishing details.

  • Schluter Certified
  • Mapei Certified
  • Owner on Every Job
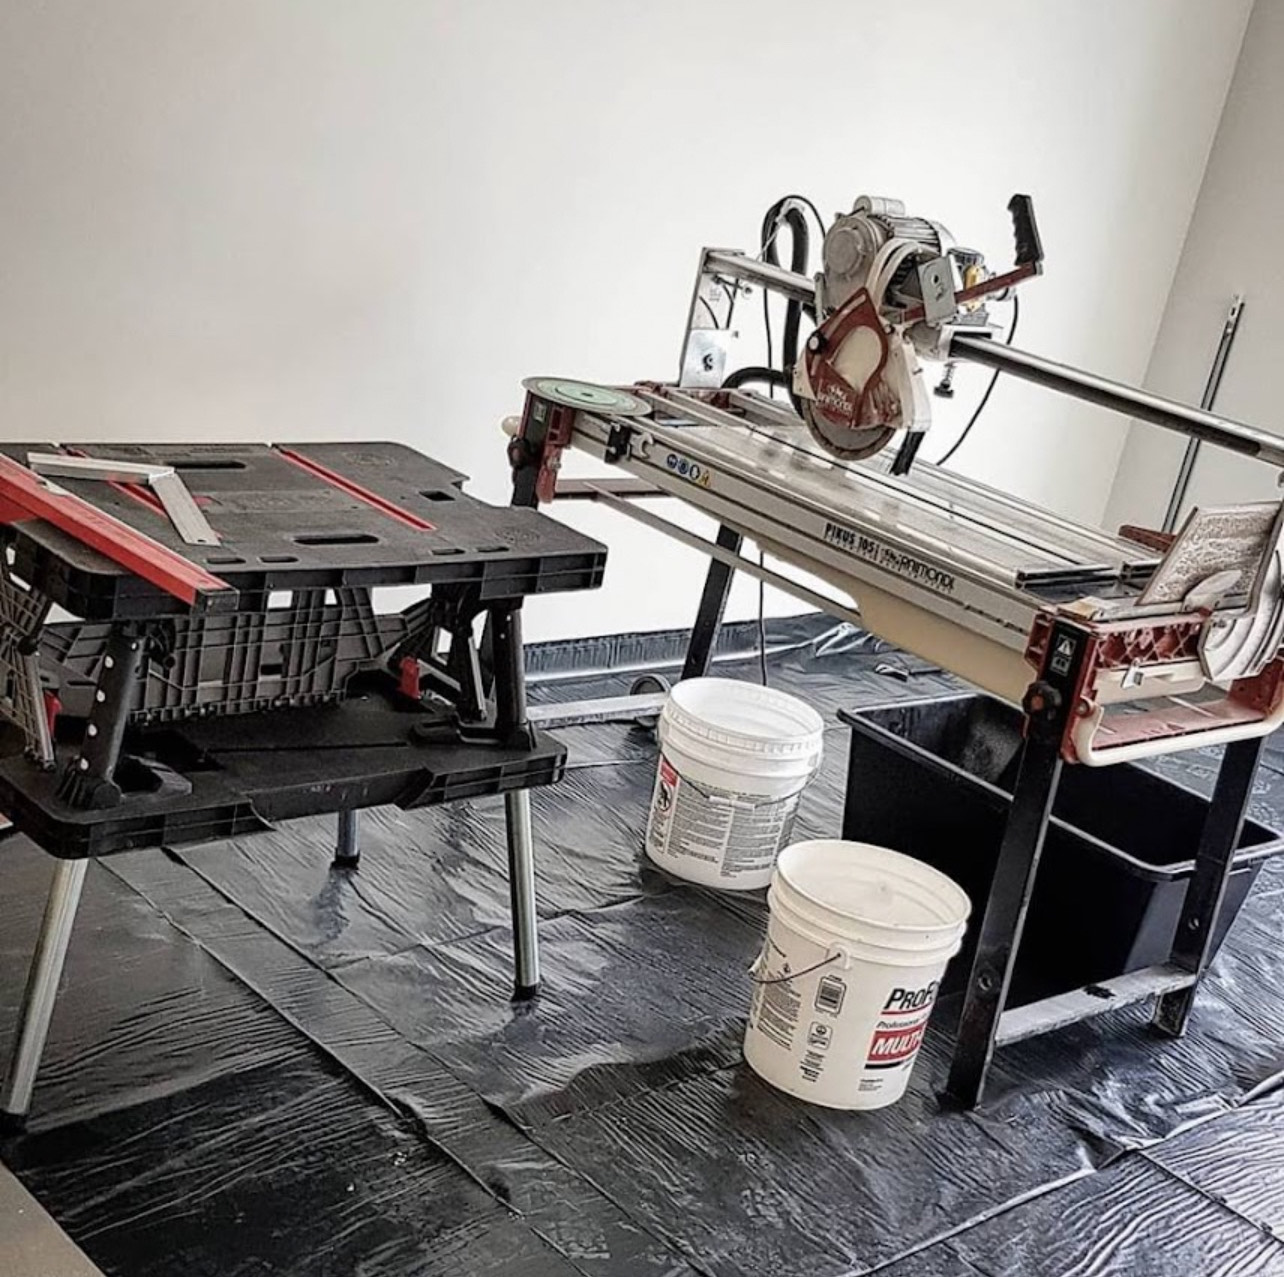
  • PIKUS 130 Bridge Saw
  • HEPA Dust Extraction
  • No Subcontractors

Why Homeowners Trust

A contractor who understands the work — not just the finish

Most flooring problems aren't visible until after installation. Hollow tile. Grout that cracks in six months. A shower that leaks behind the wall. These failures come from skipping steps that don't show up in photos — substrate flatness, proper mortar coverage, waterproofing laps, movement joints.

I'm Joseph Leger. I do this work because I'm good at it and because I care about it being done correctly. Every project I take gets the same standard: the substrate is right before anything goes down, the waterproofing is done properly, and the layout is set for symmetry and long-term performance.

I don't use subcontractors. I don't rush curing times. I don't skip the steps that no one will see.

About Joseph →
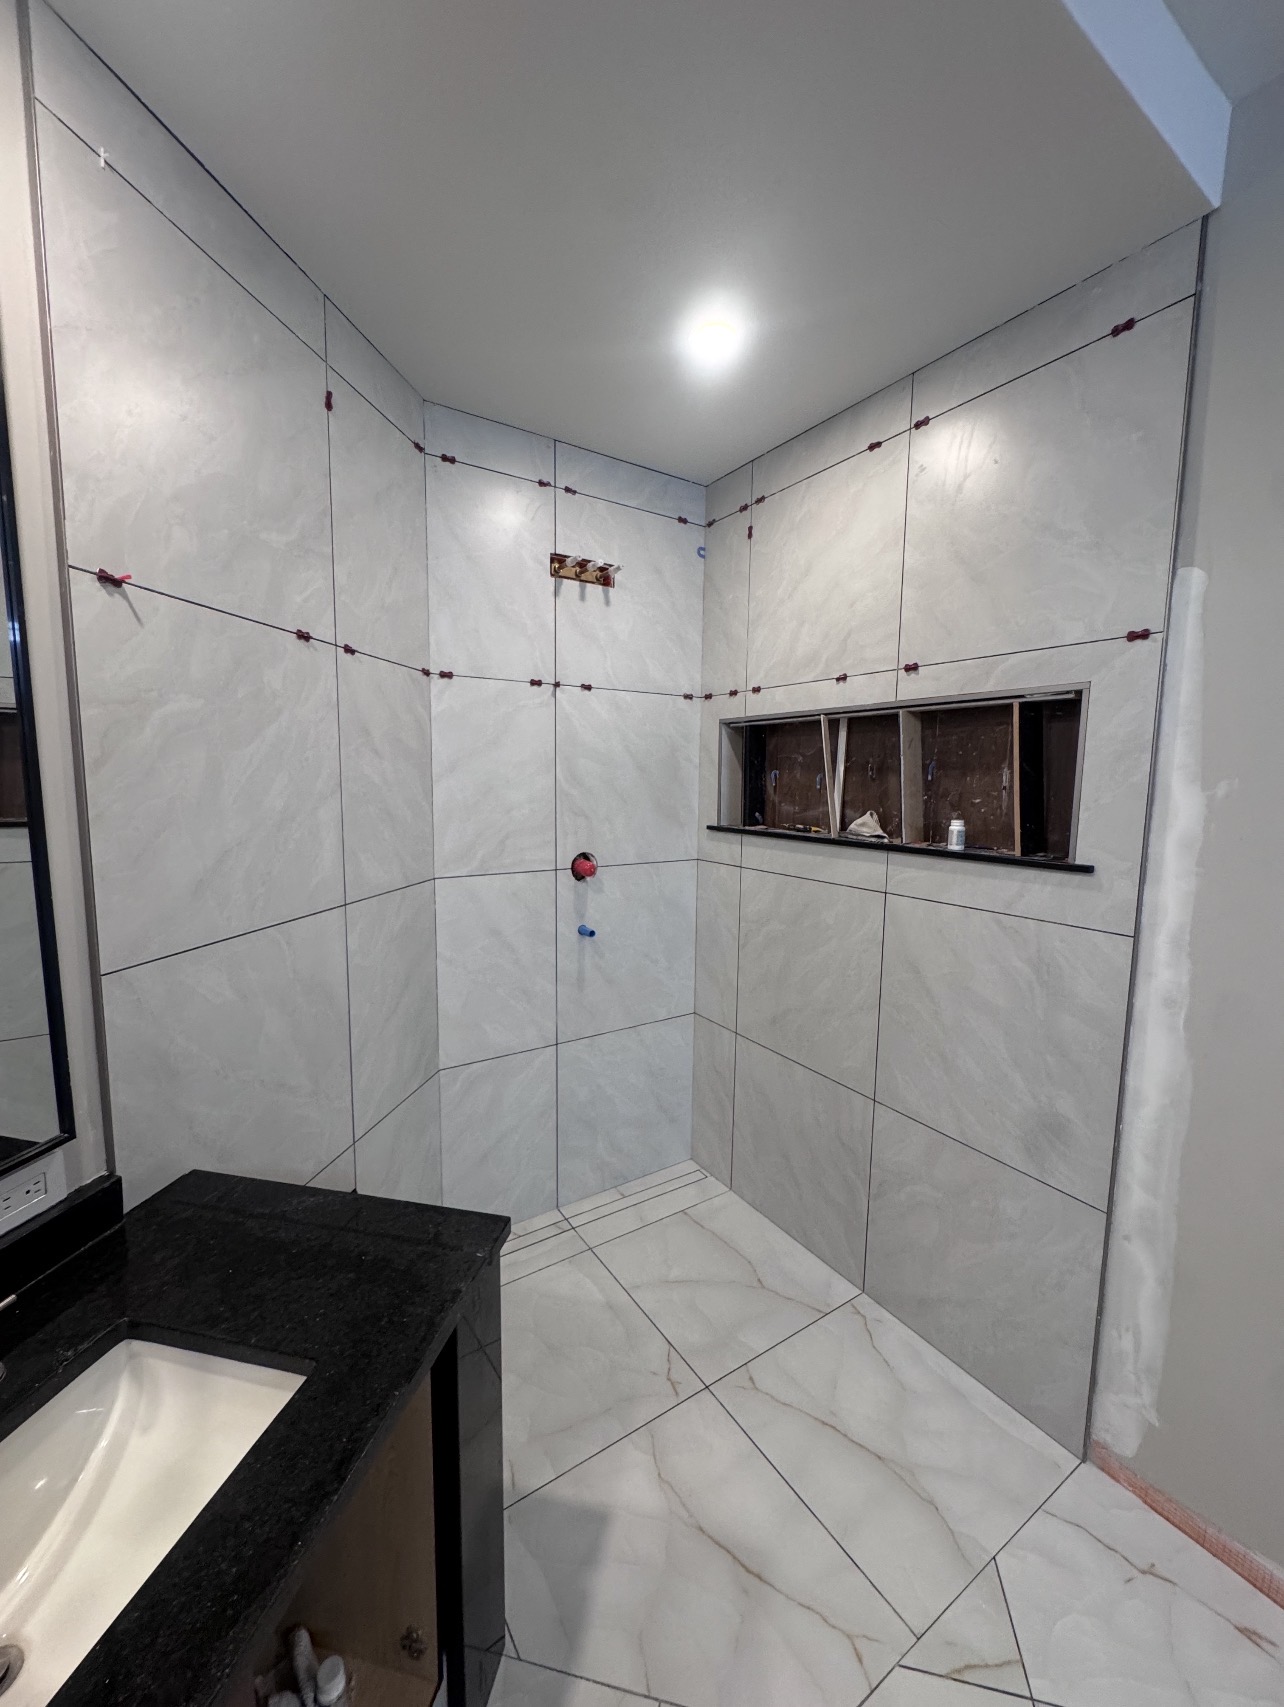
Large format tile installation in progress showing levelling clips and substrate prep by Symmetrical Flooring

How I Work

A More Technical Approach

Six things I focus on that most installers skip or rush.

Substrate Preparation

The tile is only as good as what's underneath it. I check for deflection, high spots, and low spots before anything else. Large-format tile requires the floor to be flat within 3mm over 3 metres — I achieve that before I start layout.

Waterproofing

Schluter-KERDI membrane on every shower — properly lapped at seams, fully embedded in unmodified thinset, flood-tested for 24 hours before tile. I'm Schluter Certified, which means I've had manufacturer training on the correct installation methods.

Layout & Symmetry

Layout is planned before the first tile is set. I snap reference lines, dry-lay the field to check grout joints and symmetry, and adjust the starting point so cuts are balanced and focal points are centred. No one wants a tiny sliver tile next to the vanity.

Mortar Coverage

Large-format tile needs back-buttering and full-coverage troweling. The standard is 95% on wet areas, 80% minimum elsewhere. I check coverage by lifting test tiles during installation — not after grouting when it's too late to fix.

Expansion & Movement

Tile expands and contracts. Without movement joints at perimeters and field breaks on large installations, grout cracks. I plan for this at layout — not as an afterthought. On heated floors, I use flexible adhesive rated for thermal cycling.

Clean Finishing Details

Grout consistency matters. Caulk joints at changes of plane are done cleanly and tooled properly. Trim profiles are cut square and mitred where they meet. The last 5% of a tile job is where the craftsmanship shows — and I don't rush it.

What I Install

Services Built on Proper Prep

Every service starts with the same foundation: substrate assessment, correct materials, and execution that holds up long-term.

Tile Installation

Porcelain, ceramic, natural stone, large-format. Proper layout lines, full mortar coverage, consistent joints. Precision cuts on the PIKUS 130 bridge saw.

Learn more →

Bathroom Renovations

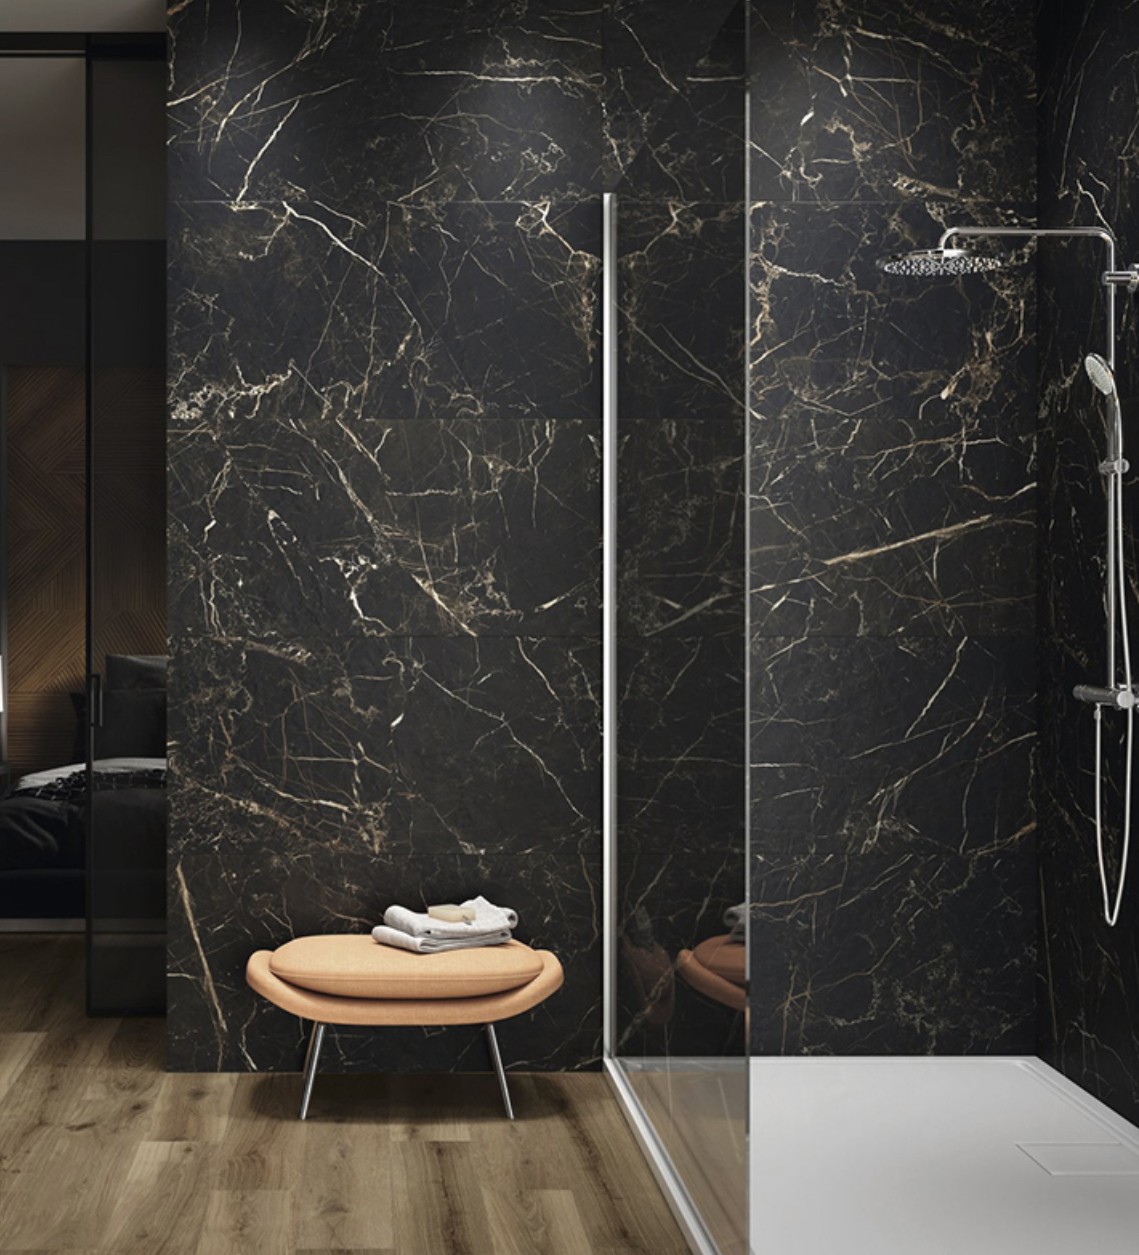
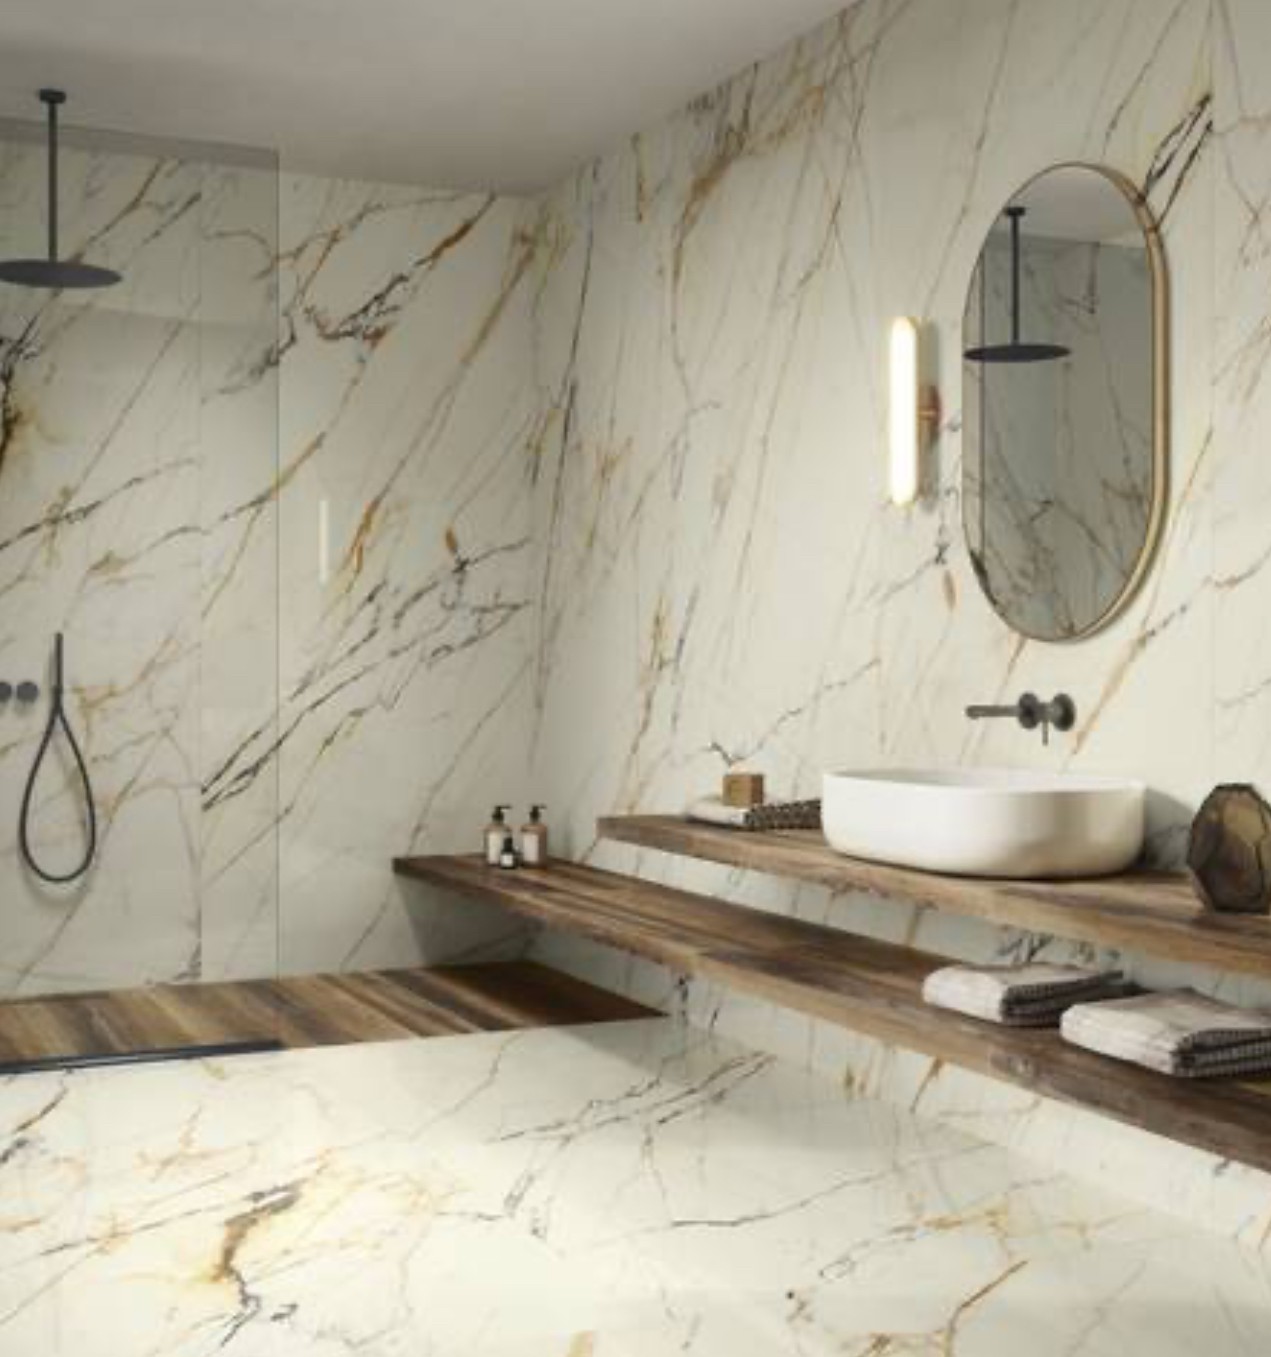
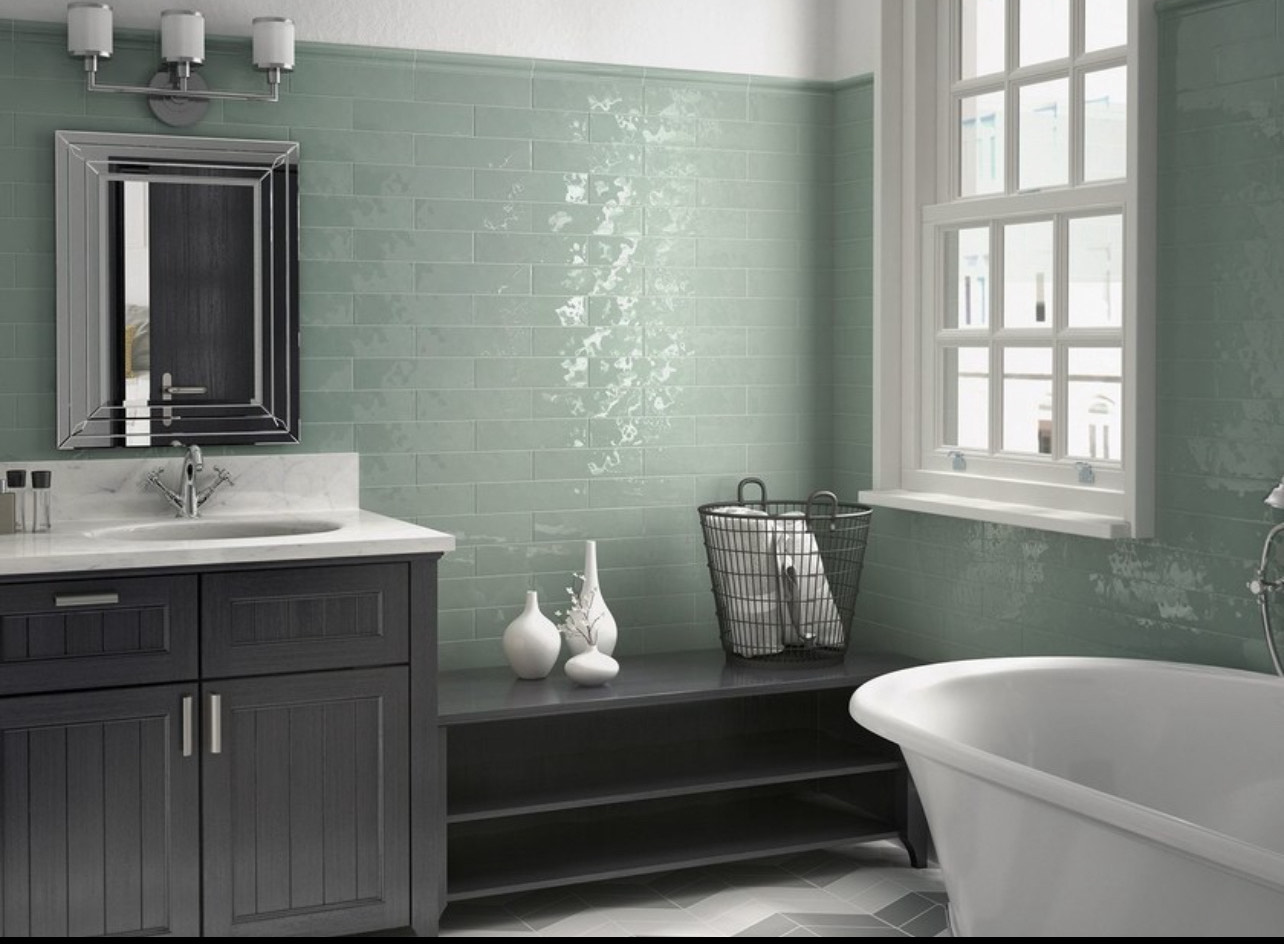
Full floor-to-ceiling tile work, niche and bench integration, waterproofing, drain installation, and trim details. Managed start to finish by one person.

Learn more →

Custom Tile Showers

Walk-in showers built right. Schluter-KERDI waterproofing membrane, flood-tested before tile, niche cutouts with the bridge saw, and caulked changes of plane.

Learn more →

Shower Waterproofing

Schluter-KERDI membrane properly lapped at inside corners and seams, embedded in unmodified thinset, and flood-tested for 24 hours before tile goes down.

Learn more →

Heated Floors

Electric radiant heat under tile. Mapei Certified installation using heat-compatible flexible adhesives. Cable resistance tested before tile, during, and after grouting.

Learn more →

Luxury Vinyl Plank

Floating or glue-down LVP on properly prepared subfloors. Expansion gaps at perimeters, transitions where required, and clean threshold details.

Learn more →

Hardwood Flooring

Solid and engineered hardwood, nail-down or glue-down. Acclimated properly before installation, fitted to the structure of the room, not just the walls.

Learn more →

Flooring Repair

Cracked tile, hollow spots, lifting LVP, failed grout, squeaky hardwood. I diagnose what caused the failure — not just what's visible at the surface.

Learn more →

Commercial Tile Repair

Lobby, corridor, and commercial-space tile repair and replacement. Colour-matched grout finishing, minimal disruption, and correct substrate diagnosis.

Learn more →

What Makes the Work Different

The decisions most installers don't make

  • I look at the structure before the finish — floor deflection, substrate condition, and existing layers all affect what I recommend and how I install.
  • I test for hollow tile during installation, not after grouting when fixing it means tearing out finished work.
  • I flood-test every shower before tile goes down. Twenty-four hours minimum. If it holds, we tile. If it doesn't, we find it now instead of in two years.
  • I use a bridge saw for every complex cut — niches, L-cuts, mitered corners. No angle grinder shortcuts on finished tile.
  • I use HEPA Class H dust extraction on every cut. Silica dust is a known carcinogen. I take this seriously in every home I work in.
  • I plan layout for symmetry — balanced grout joints at focal walls, centred patterns, no slivers at doorways or fixtures.
  • I communicate what I find before I start, not after I've already made the decision for you.
  • I finish the job the same way I started it — the last grout joint gets the same attention as the first.

Real Project Proof

Real installations. Real homes. No stock photos.

View Full Gallery →

Before I Start

Problems I Look For Before Installation

Most flooring failures are preventable. I find these before the tile goes down — not after.

  • Excessive floor deflection that will crack tile or grout over time
  • Subfloor layers that aren't properly fastened or have movement between them
  • High spots and low spots that will create hollow tile if not corrected
  • Existing membrane or adhesive that isn't compatible with the new system
  • Moisture intrusion points that need to be addressed before waterproofing
  • Drain configurations that conflict with the planned tile layout or slope
  • Wall framing that's out of plumb — affects layout lines and grout joint consistency
  • Hollow or delaminated areas in existing tile that indicate prior water damage
  • Previous repairs or patches that won't bond correctly with new thinset
  • Missing or incorrectly placed expansion joints in large-format floor installations
  • Electrical or heating elements that need to be coordinated with tile thickness and adhesive selection

How I Work With You

Clear Communication Before Surprises

Before any work starts, I walk through what I found during assessment, what I recommend, and why. If something unexpected comes up during the job, I show you and explain the options before I make decisions that affect your home or your budget.

You'll know what's happening at every stage — not just at the quote and the invoice.

  • Assessment first

    I look at the substrate, the existing conditions, and the scope before I quote. The quote reflects what I actually found — not a best-case estimate.

  • Photos and explanations mid-job

    If I find something you should know about — a soft spot under the tile, a drain that's positioned wrong — I photograph it and show you before I proceed.

  • No surprises on the invoice

    Changes to scope get discussed before they happen. You approve additional work before I do it. The final number isn't a surprise.

Symmetrical Flooring logo — Joseph Leger, Ottawa tile and flooring contractor

The Owner

Joseph Leger

I started Symmetrical Flooring because I wanted to do this work at a level that's hard to find from larger crews. Tile and flooring installation rewards preparation and patience — two things that tend to get cut when a company has multiple jobs running and needs to move fast.

I take on projects I can do properly. That means a manageable schedule, no handoffs, and my full attention on the substrate, layout, and execution. When you hire me, I'm the one doing the work.

Schluter Certified KERDI waterproofing & DITRA systems
Mapei Certified Radiant heat adhesives & waterproofing
PIKUS 130 Bridge Saw Fixed-rail precision for large-format & complex cuts
Hilti HEPA Extraction Class H — 99.995% silica capture at 0.3 microns
Full Bio & Credentials →

FAQ

Frequently Asked Questions

What's included in a bathroom renovation quote?
I assess the subfloor condition, existing waterproofing, tile layout complexity, linear metres of cuts, and scope of demo. The quote covers labour and outlines what prep is needed before tile goes down. Material costs depend on your selections. I'll flag anything structural before work starts.
Do you do your own work or use subcontractors?
I do all the work myself. No subcontractors, no labourers. Every cut, every layout line, every waterproofing layer is done by me. That's how I control quality.
What does Schluter Certified mean?
Schluter Certified means I've completed manufacturer training on the KERDI and DITRA systems. I know the correct thinset, overlap, and flood-test procedures. It's not just brand familiarity — it means I install their waterproofing systems the way they're designed to work.
What does Mapei Certified mean?
Mapei Certified covers their radiant heat adhesive systems and waterproofing products. For heated floors, that means heat-compatible flexible mortars and proper cable resistance testing before, during, and after tile. The certification exists because the wrong products can void warranties or cause failures.
How do you handle dust during tile cutting?
I use a Hilti VC 150-10 X with HEPA Class H filtration — 99.995% capture at 0.3 microns. Crystalline silica dust is an IARC Group 1 carcinogen. Standard shop vacs don't cut it. I take this seriously in every home.
Can you do large-format tile — 24×48 or larger?
Yes. Large-format tile requires a flat substrate (within 3mm over 3 metres), back-buttering for full coverage, and a saw capable of precision cuts without chipping. I use a PIKUS 130 bridge saw with fixed-rail geometry for this work.
What areas do you serve?
I serve Ottawa and Orléans primarily, including Kanata, Barrhaven, Nepean, Gloucester, Rockland, Cumberland, Vanier, Beacon Hill, Blackburn Hamlet, Avalon, Fallingbrook, Chapel Hill, and Convent Glen.
Do you install heated floors?
Yes. I install electric radiant heat systems under tile using Schluter DITRA-HEAT and am Mapei Certified for the adhesives required. I test cable resistance before tile, during installation, and after grouting to confirm the system is intact.
How long does a custom tile shower take?
A standard walk-in shower takes 3–5 days: demo and board, waterproofing membrane with cure time, tile and grout, caulking and trim. Showers with niches, benches, or linear drains take longer due to layout complexity. I won't rush the waterproofing stage.
Do you offer flooring repair, or only new installation?
Both. I repair cracked tile, lifting LVP, squeaky hardwood, failed grout, and shower leaks. Repair work starts with diagnosing the root cause — not just patching the surface.
Attach photos of the space, existing floor, or any problem areas. Multiple files OK.

Send Photos for a Faster Estimate

The more I can see before the site visit, the more useful the quote conversation is. Photos of the existing floor, the subfloor if exposed, the shower space, or any problem areas help me give you a realistic picture before I arrive.

  • No obligation — quotes are free
  • Photos speed up the assessment
  • I respond within one business day
  • Or call: (613) 981-8903